"No way I could do that!" ... yeh, I've heard that one before. But hear me when I say this: yes, you can.
Well I have certainly said it myself before too! Only then it applied to base jumping, swimming with sharks, and other various no-way-Jose kind of stuff.
But installing vinyl lettering really is not that big a deal. You just have to break it down into manageable steps. And those steps depend on what you're installing - a single row of text, multiple rows of text (at once), or maybe a decal.
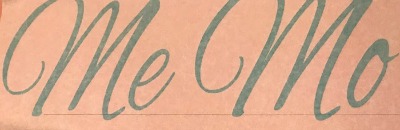
Today, let's talk about the most simple and probably most common... a single row of text.
The first thing you want to do after you have your product laid out and relaxed from shipping (because it will likely be a little curly when it comes out of the box) is to take a yard stick or ruler and draw a line under the words on the masking side of the product (this is the side that you can see through somewhat). It doesn't have to be immediately at the bottom of the words. But you want it to be even with the bottom of the lettering. So if you're holding it off a 1/2" on one side, you need to do that consistently from one end to the other.
This is your measuring guide.
Next, you want to hang it on your wall with spot tape on the right and left. (Side Note: if it's particularly long, enlist the help of a buddy just for this part. You can still do the rest by yourself if you have to.)
Using this amazing guide line that you've added to the outside of the masking, measure off of the ceiling or floor... or whatever other guide line you have at your disposal. You might even be uber cool and have a laser level! If you do, ***high fives***
After it is level and where you want it to ultimately be "stuck" put a solid tape hinge at the top to hold it firm in that position on the wall.
Now, if you're working with something small like a couple of words or a name, you can do the last step. But if you're not, and you have quite a few feet to peel and stick, let's do this next step first.
Take scissors and cut between the words, giving yourself manageable sections to hang one at a time. Like this:
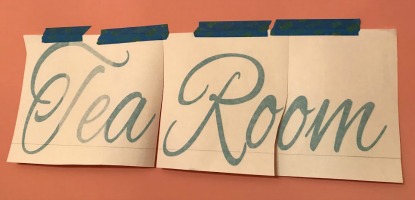
***IMPORTANT NOTE*** Do NOT cut the vinyl itself. Vinyl lettering shrinks ever so slightly over time. And if you create a cut line between an even flow of lettering that will show up as a tiny split in the vinyl after it shrinks. Cut between the letters without cutting them.
After all your sections have been made, you are ready to peel and stick them.
So beginning at any end, start from the bottom and peel the masking away from the glossy paper backing. Make sure that the vinyl lettering is staying stuck to the masking and not the paper backing. If you have a stubborn letter, just put the two pieces back together and feed the letter onto the masking. Some times it is as easy as scraping the top of the masking with your fingernail. If you can just get the end of it to stay put (stuck to the masking), the rest of the letter should follow.
After the entire piece of glossy paper has been removed, start at the top (near the tape hinge) and smooth it against the wall. We sell installation widgets on here for almost nothing. But if you have a Pampered Chef stone widget (or something like it) that works great too!
Once the whole piece is smoothed out and stuck to the wall, go over it one more time with your widget to be sure you don't have any raised spots.
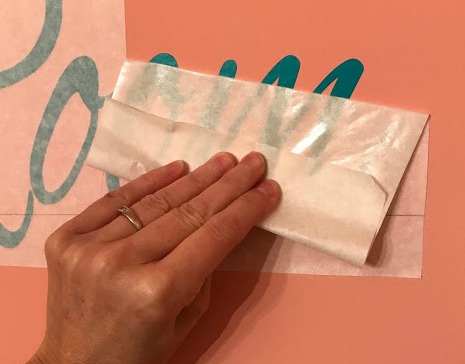
Then begin at any corner and slowly peel the masking off. Keep the masking close to itself, like the picture below. You don't inadvertantly pull the letters off the wall.
If I'm doing a whole row of text (6 ft +) by myself. I like to create and install sections about 6"-8" wide. I find I can really fly through it when they're small like that. And if I'm working on a ladder, I can do two sections at a time before I have to move the ladder.
Again, that whole "No way I could that!" we were talking about. Yeh... you totally can do it. And when you're done, you can marvel in how not-crazy-hard it was after all.

Create a beautiful day!
Jackie
